
Gardener's SecretsUpdated 5 November 2026
How to plant bare-root hedging, from marking out to the first cut
Bare-root hedging goes in as small whips in winter and grows into a hedge in a few years. Here's how to work out what you need, plant it in a straight line and get it growing thick.
By Adam Baguley, Chief GardenerFirst published
Part 1
When to plant bare-root hedging
Plant bare-root hedging while the plants are dormant. With us, that season runs from November to March. The RHS says hedges that lose their leaves in winter, such as beech, hawthorn and hornbeam, can go in any time from leaf fall, usually mid-autumn to late winter.
Evergreen hedging is planted at a different time. The RHS gives early autumn as the best time for evergreen hedges such as box, though they can go in until late winter. Evergreen hedging is often sold in pots or with a ball of soil round its roots, and less often bare-root, so ask us what is in.
Pick a day when the soil can be worked easily. Leave it if the ground is frozen, or so wet that it sticks to your boots and the spade.
Bare-root hedging needs to go in soon after you collect it, so prepare the ground first and plan the planting for the same day or the next.
Keeping the roots safe, soaking them and heeling in until planting day are all in our guide When is bare-root season? What to know before you plant.
Part 2
How many plants do you need?
Start by measuring the length of the hedge in metres. Then decide on one row or two.
Single or double row
A single row is fine for a narrow space or a hedge you plan to keep low. The RHS gives 30 to 60cm between plants in a row, depending on how big the plants grow and how vigorous they are. The Woodland Trust plants a single native hedge at 30cm, which is just over three plants to the metre.
A double row makes a thicker hedge with a fuller base, which suits a boundary or a hedge for wildlife. The Woodland Trust plants a staggered double row, a zig-zag, with about five plants to the metre and 30 to 40cm between plants. For a hedge thicker than about 90cm, the RHS suggests two rows 45cm apart.
As a worked example, a 10m hedge in a double row at five plants to the metre needs about 50 plants. The same length in a single row at 30cm needs about 34.
Choosing the size
Bare-root hedging is usually sold as whips, young plants about 60cm tall. The RHS says whips are cheap and easy to establish, and that planting them close together gives a thick hedge, because the plants compete with each other and need less trimming. Taller plants cost more and need more care, especially with water.
Bring your measurements and ask us what sizes are in this week. We can work out the numbers with you.
Part 3
Preparing the ground
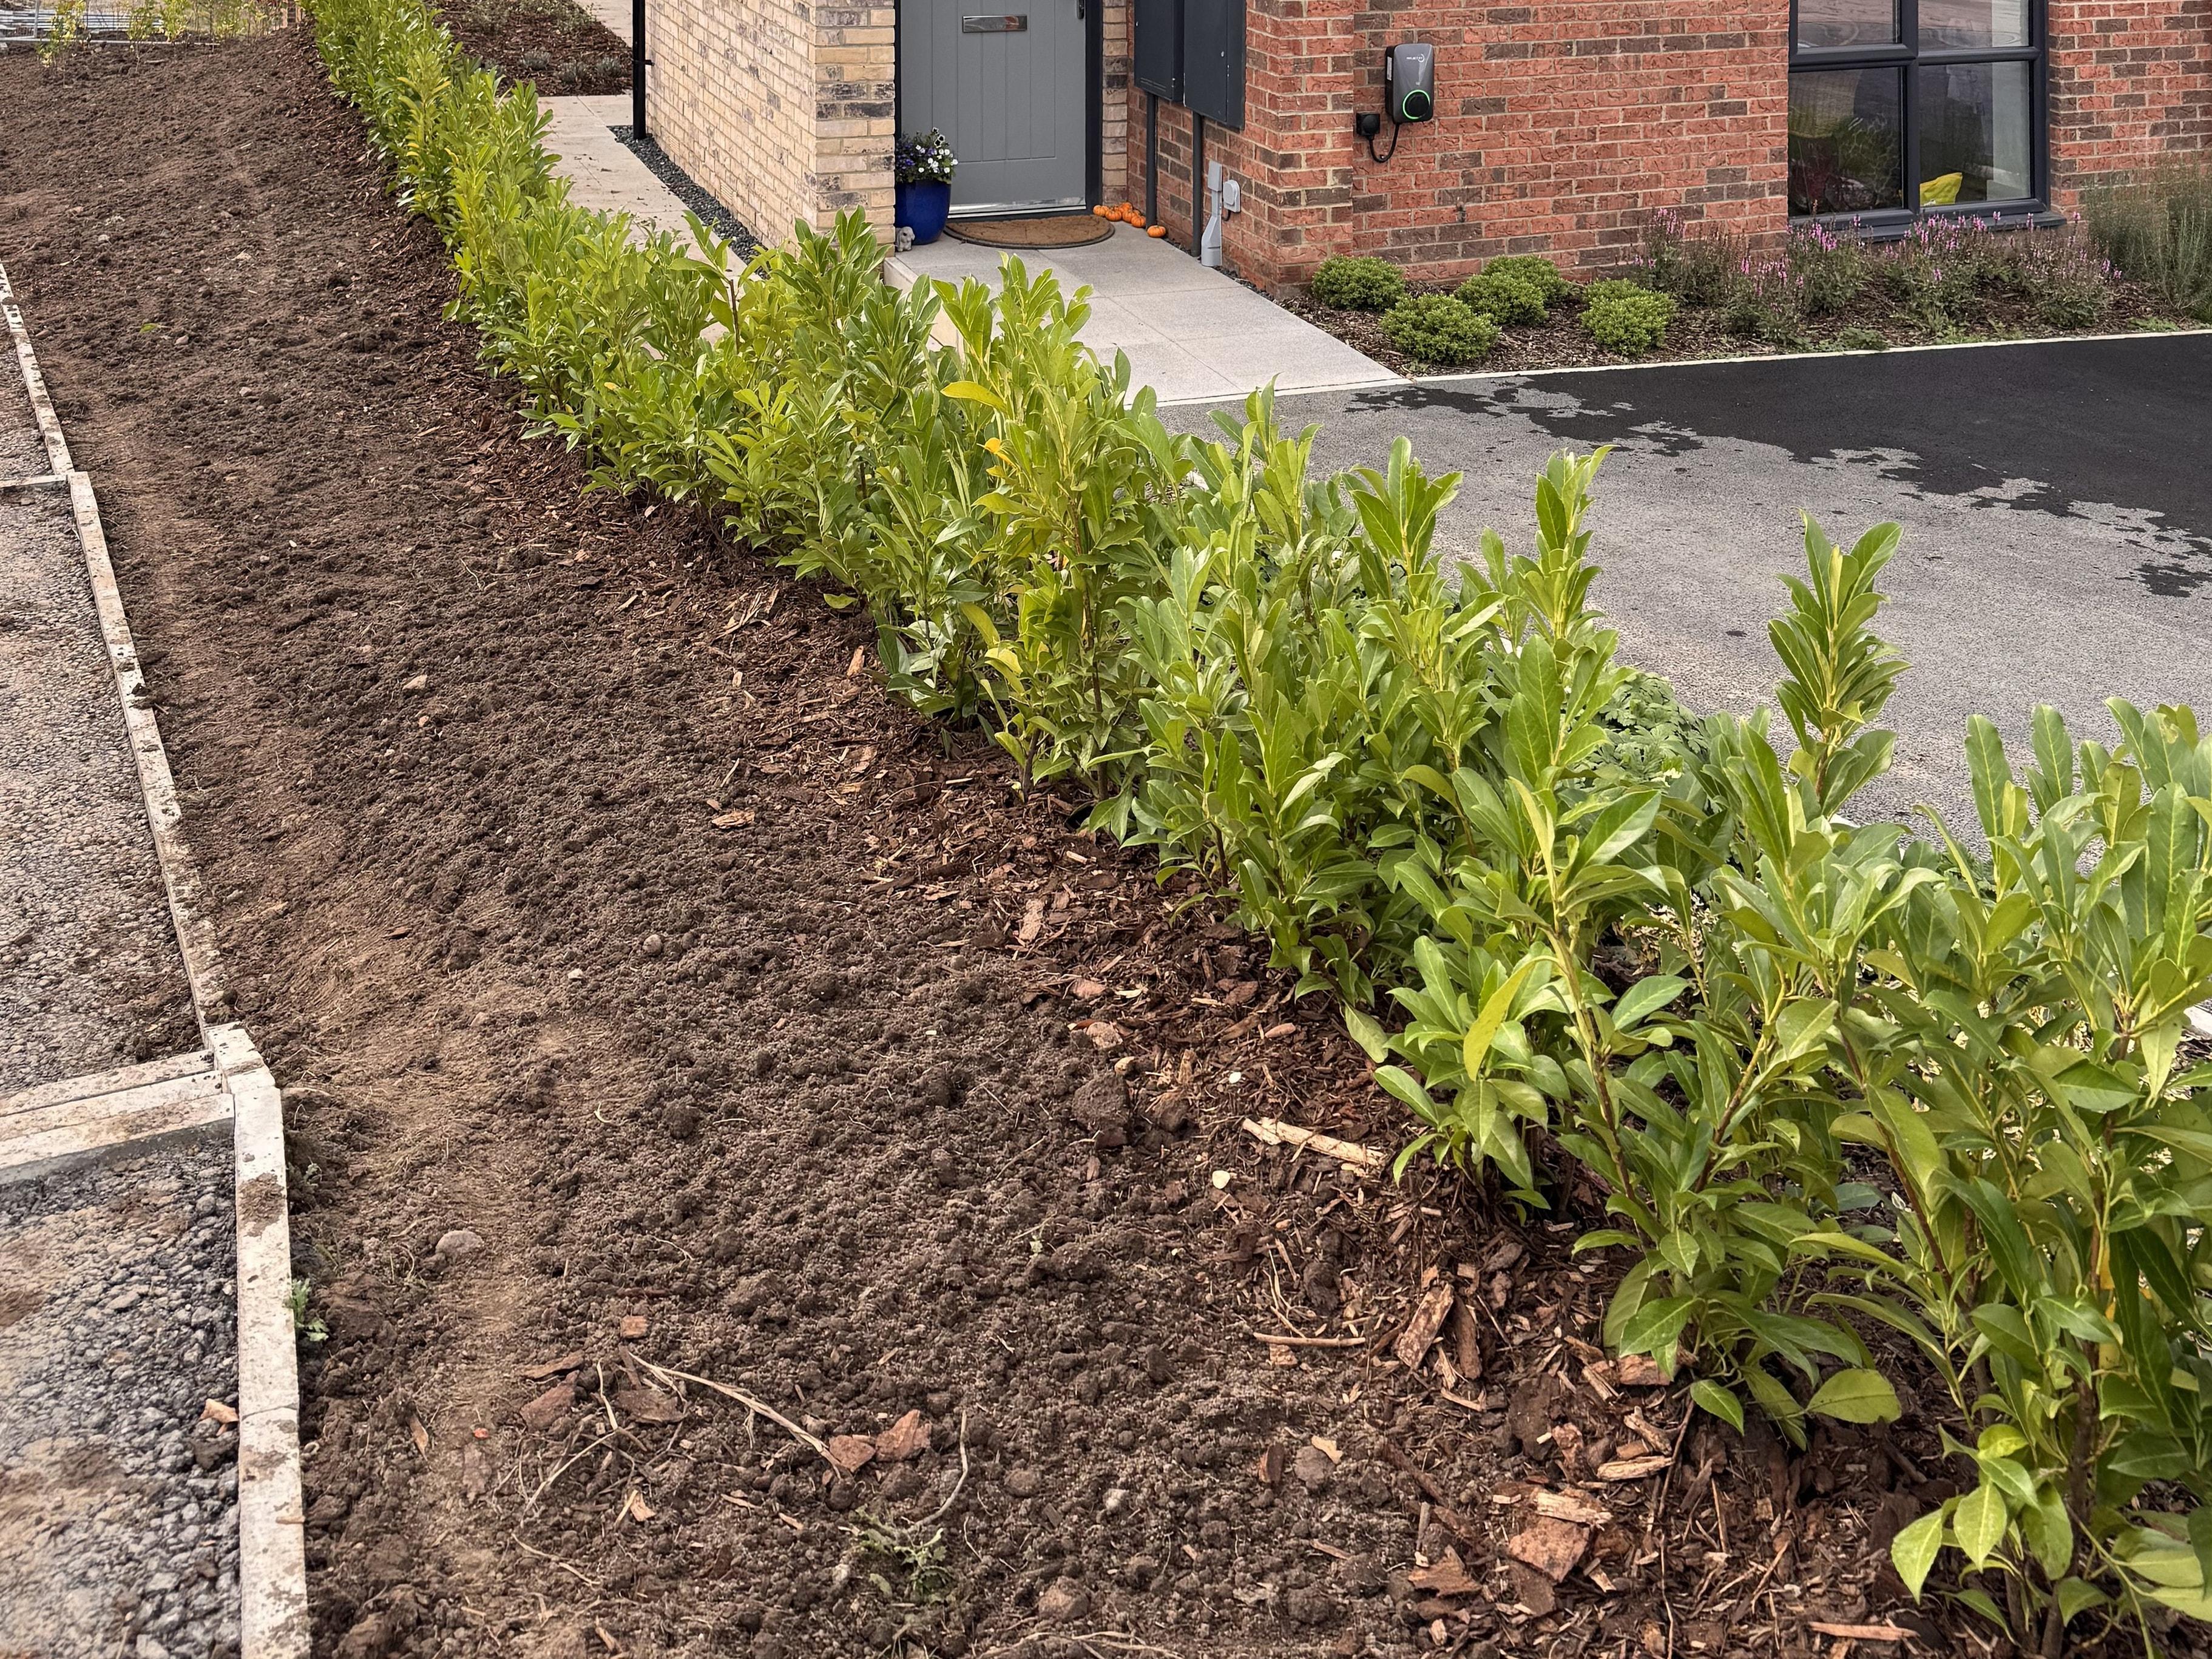
Good preparation is most of the work, and it can be done in the weeks before the plants arrive.
- Dig over a strip along the line, 60 to 90cm wide and one spade deep, as the RHS advises.
- Take out every weed root as you go. Perennial weeds that are left in come back up through the young hedge and are much harder to get out later.
- On sandy or heavy clay soil, mix garden compost into the soil you will put back round the roots, or fork it into the top 25cm or so of the strip.
- Keep compost and manure out of the bottom of the trench. As it rots, the plants can sink below their planting depth.
If the ground stays wet through the winter, the RHS suggests forming the soil into a low ridge, about 15 to 20cm high, and planting along the top. Ground that is waterlogged for long spells may need proper drainage first.
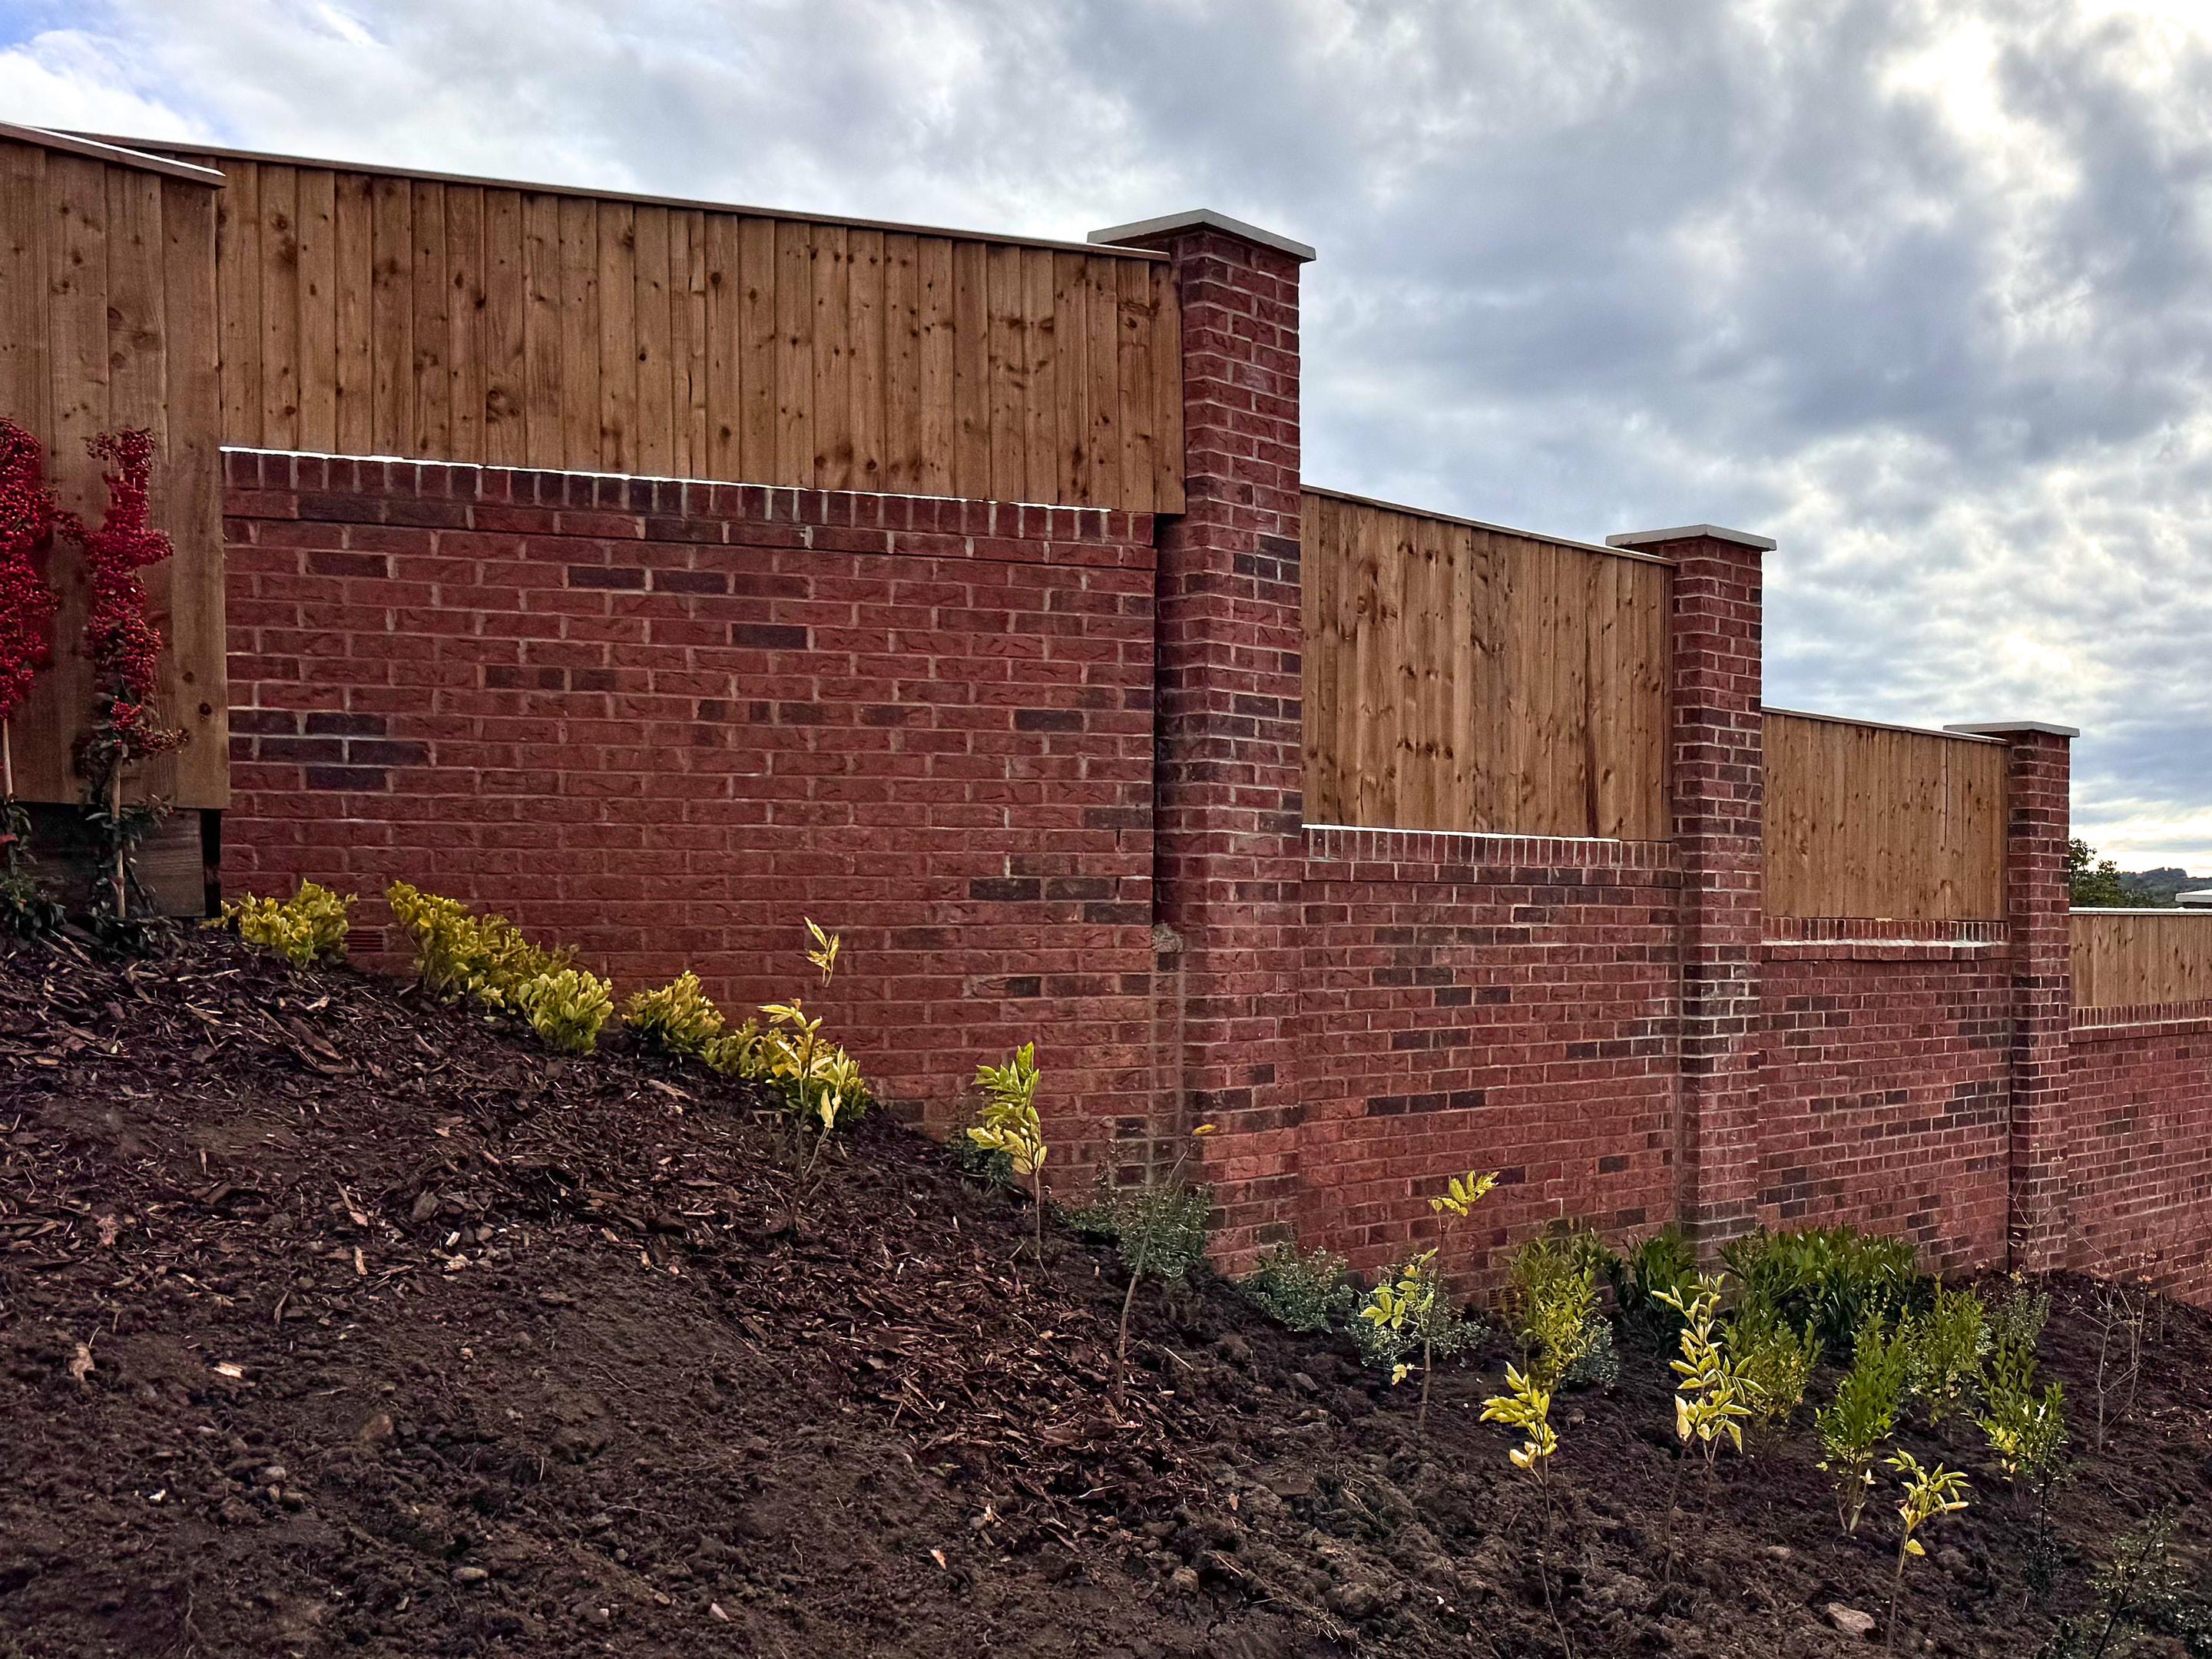
Along a boundary, leave room for the hedge to grow out. The RHS suggests setting it back about 90cm, and the Woodland Trust 1 to 1.5m, so it can fill out without growing over the pavement or a neighbour's garden. Talk to your neighbour before you start.
Part 4
Marking out the line
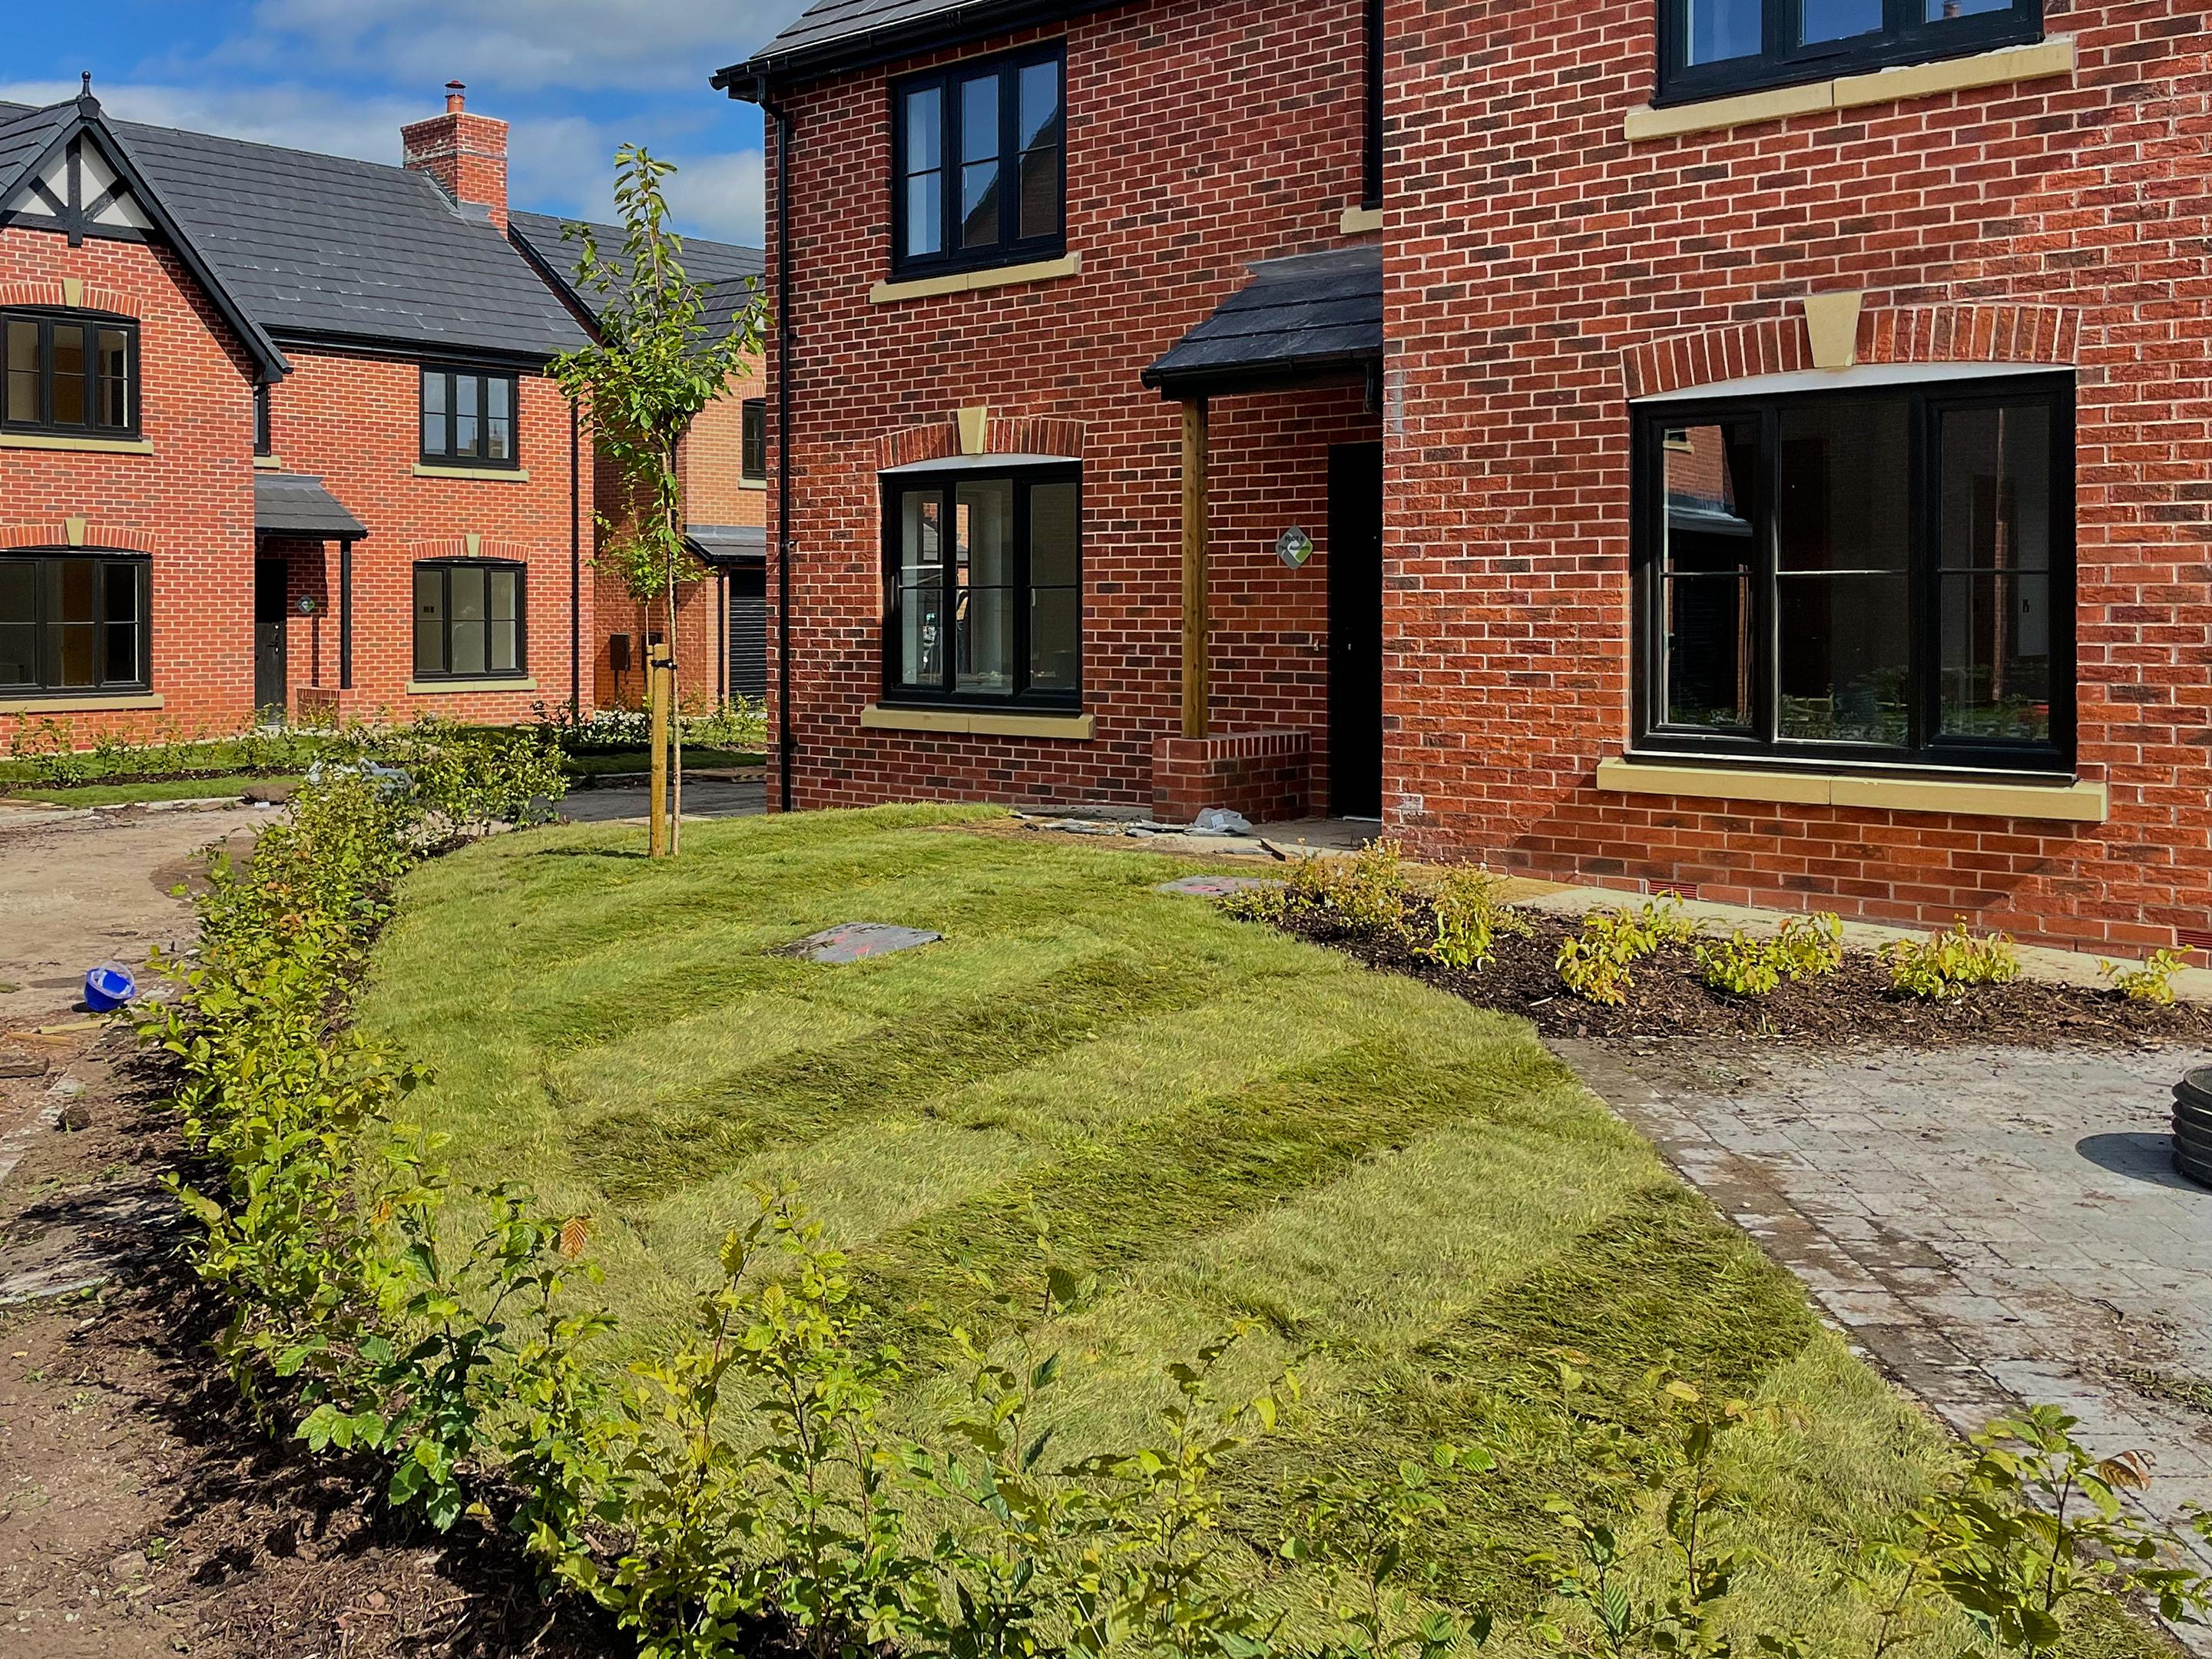
A straight, even hedge starts with a string line. Knock in a peg at each end of the run and pull a string tight between them, a little above the ground. For a double row, set two parallel lines the right distance apart.
Cut a cane to the spacing you have chosen and use it to mark where each plant goes along the string. In a double row, start the second row half a space along, so the plants sit in a zig-zag.
For a curved hedge, lay a garden hose along the curve until it looks right from the house, then mark it on the soil with sand or a line of canes.
Lay the plants out in their places only as you plant them. Bare roots dry out quickly in wind and sun, so keep the rest covered until you reach them.
Part 5
Planting, step by step
With the ground ready and the line marked:
- Soak the roots while you work, and take out a few plants at a time.
- Dig a trench along the string, or a hole for each plant, as deep as the roots and wide enough to spread them out.
- Trim any damaged roots back to healthy growth.
- Set each plant at its mark, at the same depth it grew before. The point where the roots flare out from the stem should be level with the soil.
- Spread the roots and work soil in between them, so it is in close contact with the roots.
- Firm each plant in with your heel, and give it a gentle tug to check it is held.
- Water the row if the soil is dry.
- Mulch along the row with garden compost or bark, about 8cm deep, keeping it just clear of the stems, as the RHS describes.
Where rabbits visit, fit a spiral guard and a cane to each plant. On an exposed site, the RSPB suggests a bamboo cane for support for the first few years.
Take care
Before you dig a trench along a boundary, a path or a drive, find out where any cables and pipes run under it. Hawthorn, blackthorn and holly are thorny, so wear thick gloves and long sleeves to plant them, and keep the bundles out of reach of children until they are in the ground.
Part 6
The first cut
Hedging plants grow upwards first. Cutting them back while they are young makes them branch low down, which is what gives a hedge a thick base. Leave this cut out and the hedge often stays thin and gappy at the bottom.
There are two accepted ways to do it, and both aim at the same result.
- The RHS cuts the main shoot of each plant back by about a third straight after planting. In the second winter it does the same again, and cuts each side branch back by a third as well.
- The Woodland Trust lets the new hedge establish for at least a year, then in the following spring cuts the plants to about 60cm, just above a bud. It then leaves the hedge for another two years before trimming it regularly.
Ask us which suits the plants you choose. A hedge of fast, vigorous plants and one of slower plants can need different handling.
From the second or third year, trim the hedge a little wider at the base than at the top, so light reaches the lower branches. From March, check for nesting birds before any cut.
For which plants to mix and how to cut a hedge for wildlife, read native hedge plants: choosing and growing a hedge for wildlife.
Part 7
The first three years
A new hedge needs water more than anything else while its roots grow out. The RHS advises keeping a new hedge well watered for its first two years, and in dry spells in spring and summer for the first three.
Water along the whole row, slowly, so it soaks down to the roots. A hose laid along the row and left to run gently does this better than a quick spray. Water before the plants wilt, because a hedge that dries out in its first summer can lose plants.
Keep the base of the hedge clear of grass and weeds, and top up the mulch each year with garden compost.
Do not plant climbers into a new hedge. The RSPB warns that they can smother the young plants before the hedge is established.
Expect a hedge to take time. The RHS says a hedge might take three to seven years to reach the size you want. The first year is mostly root growth, so a hedge that looks the same in its first summer is usually growing well below ground.
Part 8
Planning a long hedge?
For a long hedge, bare-root whips are the most economical way to plant. The RHS notes that you can buy semi-mature hedging for an instant hedge, but it costs much more and needs extra care with planting and watering.
Our own team plants new hedges along fence lines and round whole plots, from bare-root or potted plants depending on the season. If you would rather we planted yours, ask about our planting service.
We deliver across the North West, usually within two days, with the cost depending on the distance. What we have bare-root changes through the winter, so ring ahead with your length and we will tell you what is ready.
See what we have this winter in bare-root trees and hedging, or read more in the Gardener's Secrets guides.
Ready to plant your hedge?
Bare-root hedging is in from November to March.
Ask us at the nursery
196 Manchester Road, Rixton. Bring the length of your hedge, and we can work out the numbers with you.
Winter hours, until April · Mon to Sat, 9:00am – 4:30pmSundays closed